
Event sign-ups are not configured directly on the event. You build them in three steps:
- Create a Form (what people fill out)
- Create a Custom Page and assign that form to a section
- Assign that Custom Page to the Event
Once linked, visiting the public event page shows the custom page content and the sign-up form instead of the default event layout.
Prerequisites: Your club should have a Premium Club Profile so custom pages and forms work on the public website. Use the same club for the form, custom page, and event — the dropdowns only show items that belong to that club.
Step 1 — Create the Form
Where: Club Tools → Forms
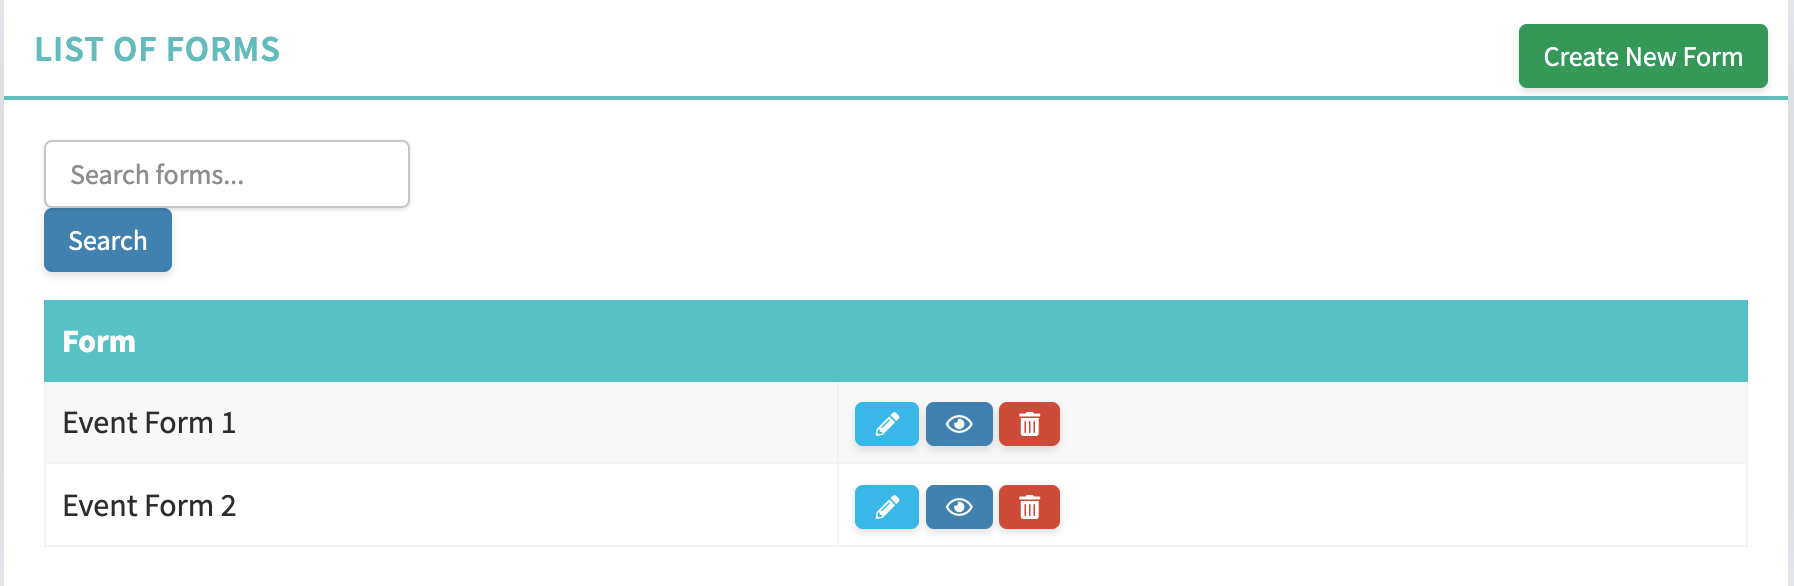
- Open Forms and create a new form (or edit an existing one).
- Choose the Club.
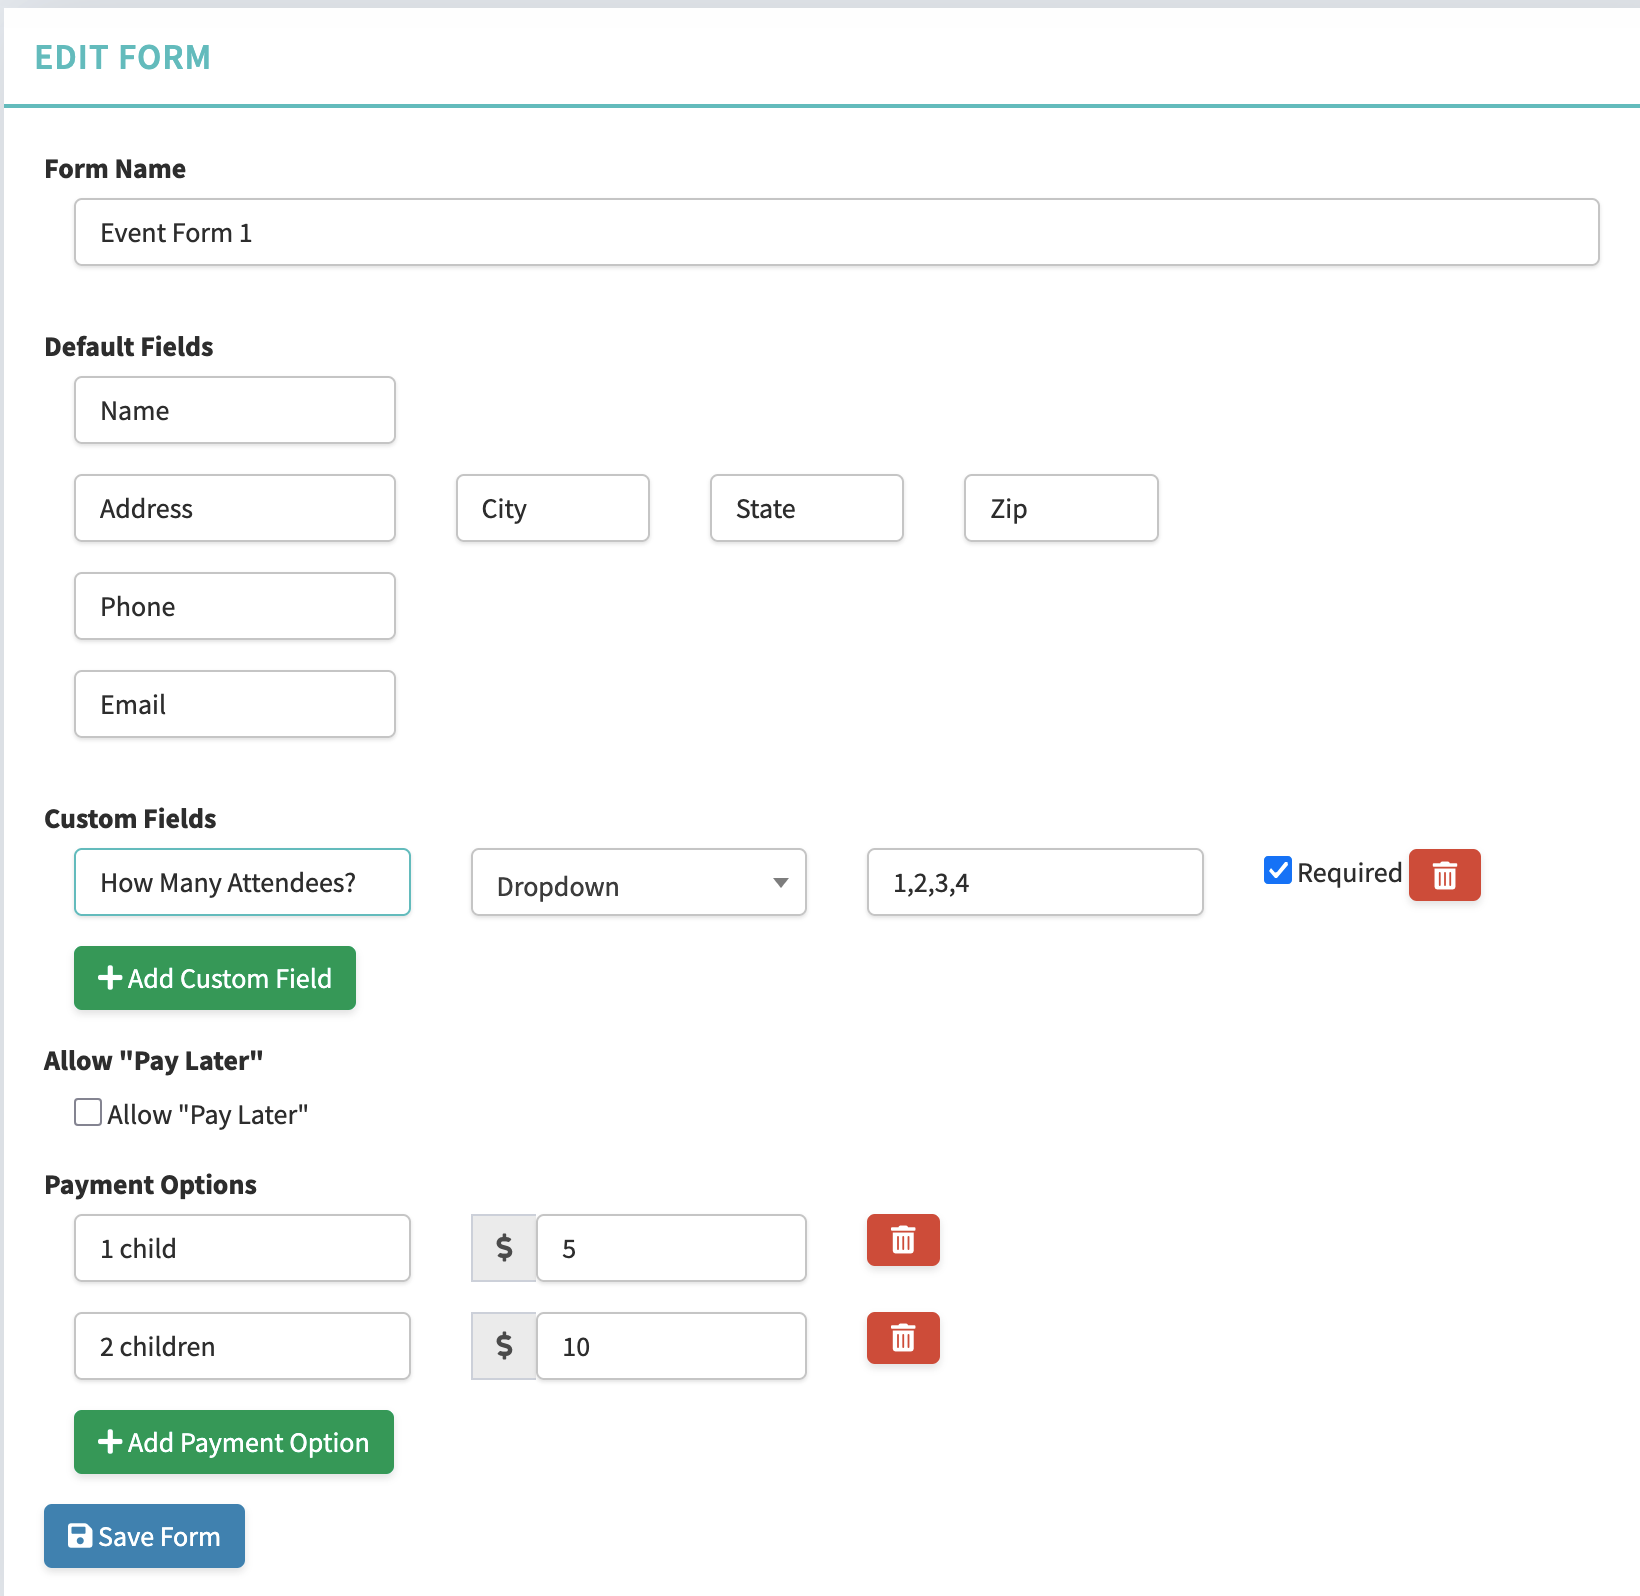
- Enter a Form Name (for example, “Field Trip Sign-Up”).
- Review the built-in Default Fields (always included): Name, Address / City / State / Zip, Phone, and Email.
- Optionally add Custom Fields (Text, Multi-Line Text, or Dropdown; Dropdown options are comma-separated).
- Optionally configure Payment Options (label, member rate, and non-member rate) and Allow "Pay Later".
- Save the form.
Step 2 — Create a Custom Page and Attach the Form
Where: Club Tools → Custom Pages
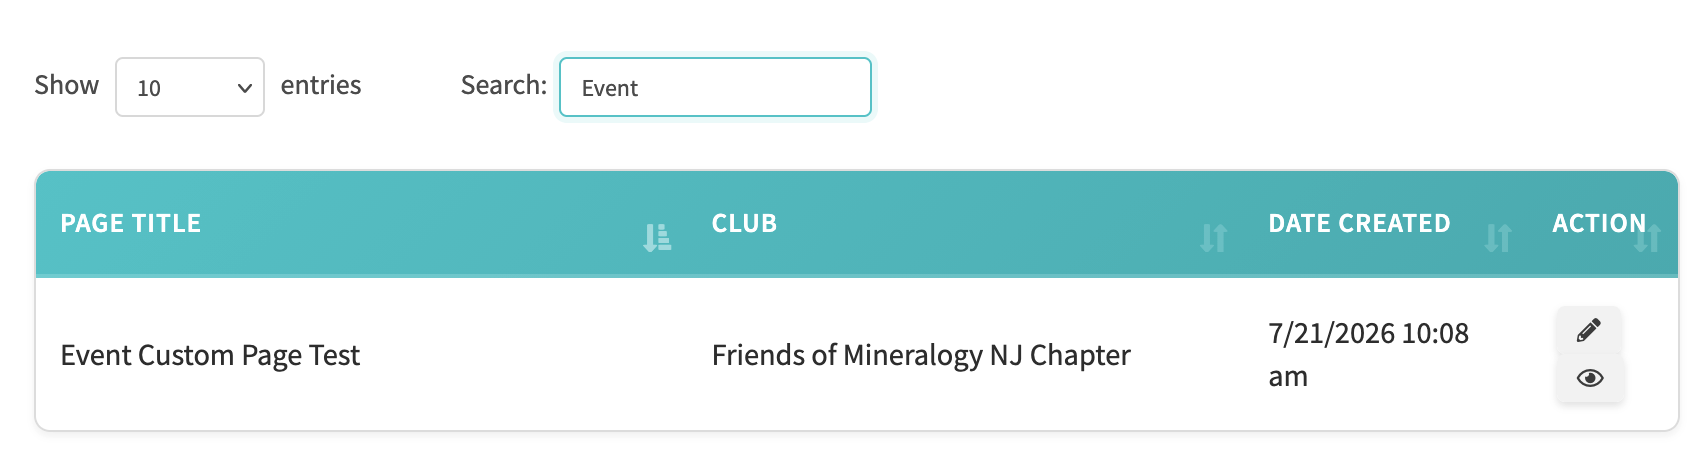
- Create a new Custom Page (or edit an existing one).
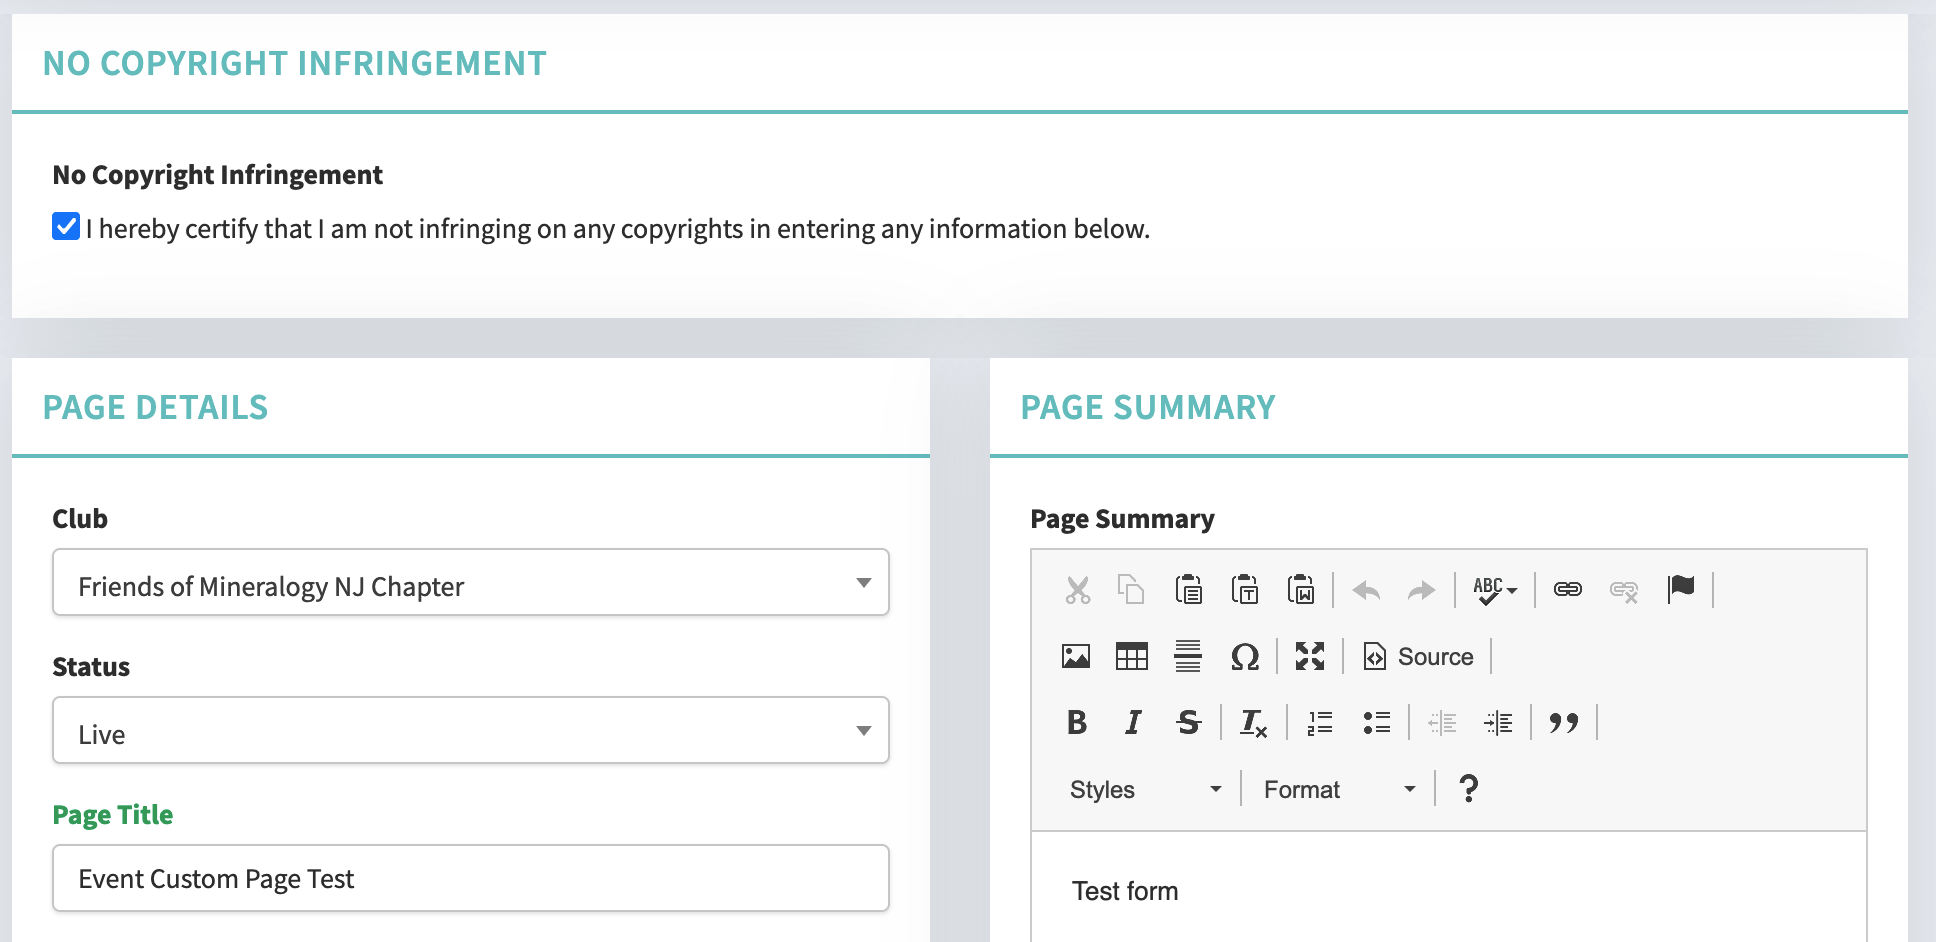
- Check No Copyright Infringement (required — without this, the page will not appear in the event’s Custom Page dropdown).
- Set Page Title, choose the same Club, and set Status to something other than draft/unpublished (draft status is excluded from the event picker).
- Fill in page content as needed (summary, images, etc.).
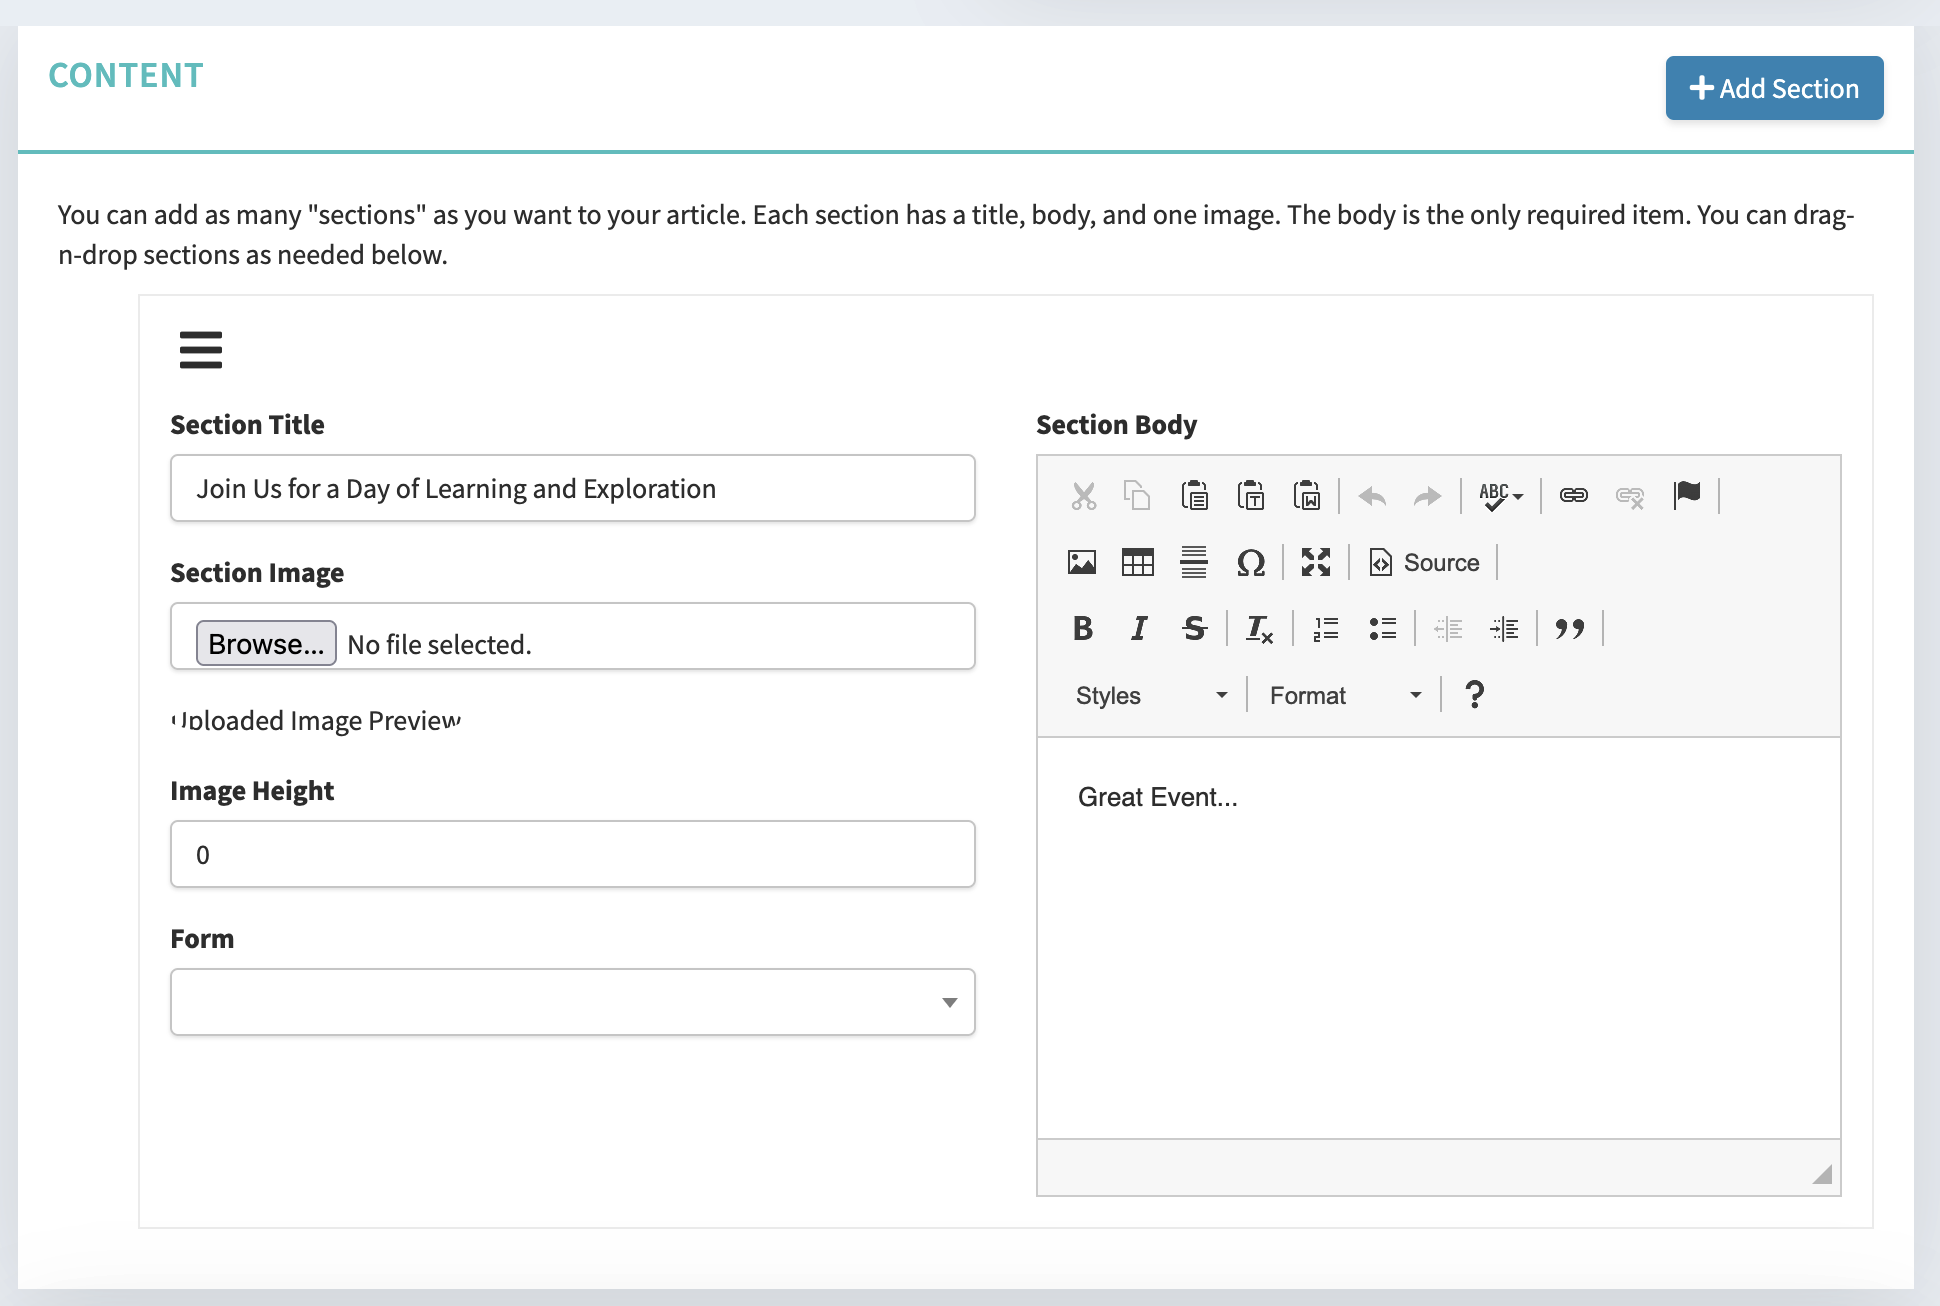
- Under Content, click Add Section.
- On that section:
- Add a Section Title and Section Body if you want intro text above the form.
- In the Form dropdown, select the form you created in Step 1.
- Save the page.
Tip: The form is assigned on a section, not at the top of the page. You can have page content in one section and the form in another.
Step 3 — Assign the Custom Page to the Event
Where: Events → create or edit an event
- Create a new event or open an existing one.
- Choose the same Club.
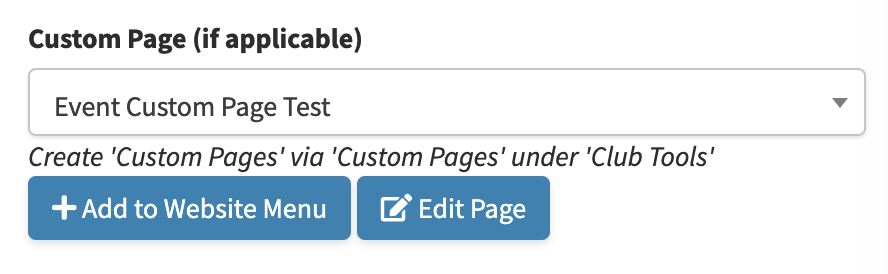
- In Custom Page (if applicable), select the Custom Page from Step 2.
- Optionally click Edit Page to open the Custom Page in a new tab.
- Optionally click Add to Website Menu (see note below).
- Fill in the rest of the event details (name, dates, location, etc.) and save.
Note: Add to Website Menu
Next to the Custom Page dropdown is an Add to Website Menu button (it changes to Edit Menu Link once a link already exists for that event).
Use this if you want the event/sign-up page to appear in the club website navigation — for example as “Field Trip Sign-Up” in the menu. You do not need a menu link for the form to work on the event page itself; the menu button is only for making it easier for visitors to find.
Select the Custom Page first, then use Add to Website Menu to configure the menu title and related link options.
What Visitors See
When someone opens the public event page:
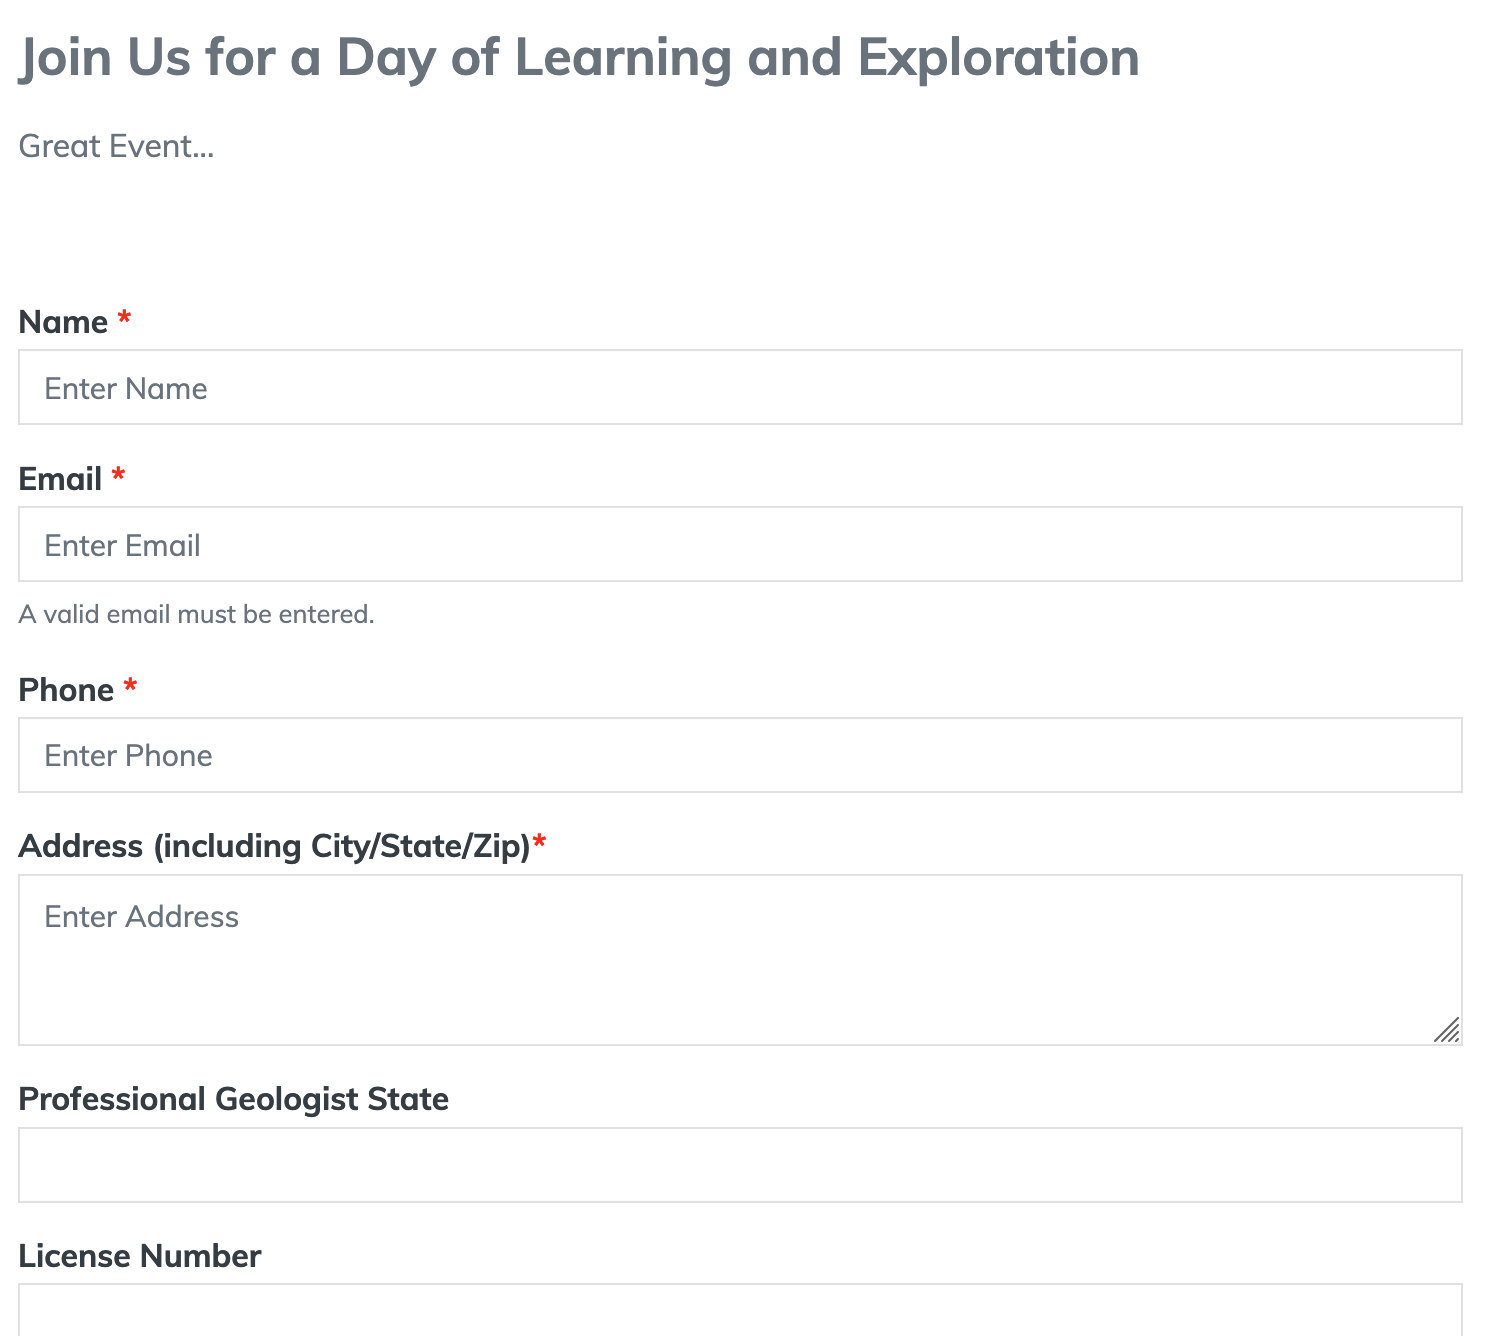
- If a Custom Page is assigned, the site shows that page’s content (including the form) instead of the default event template.
- Payment options show both a Member and Non-Member rate, with the rate they will pay highlighted. Current club members get the member rate; others get the non-member rate unless they add membership/dues on the same form. Guests who are not getting the member rate see Login / Sign up to get member rates.
- After the event end date (or start date if there is no end date), the form is replaced with: “This event has passed. There are no more signups.”
Visitors reach the form through the normal event URL on your club site (for example /field-trips/your-event-slug), from the calendar or home page event links, or from the website menu if you added one.
Managing Sign-Ups Afterward
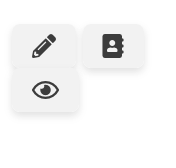
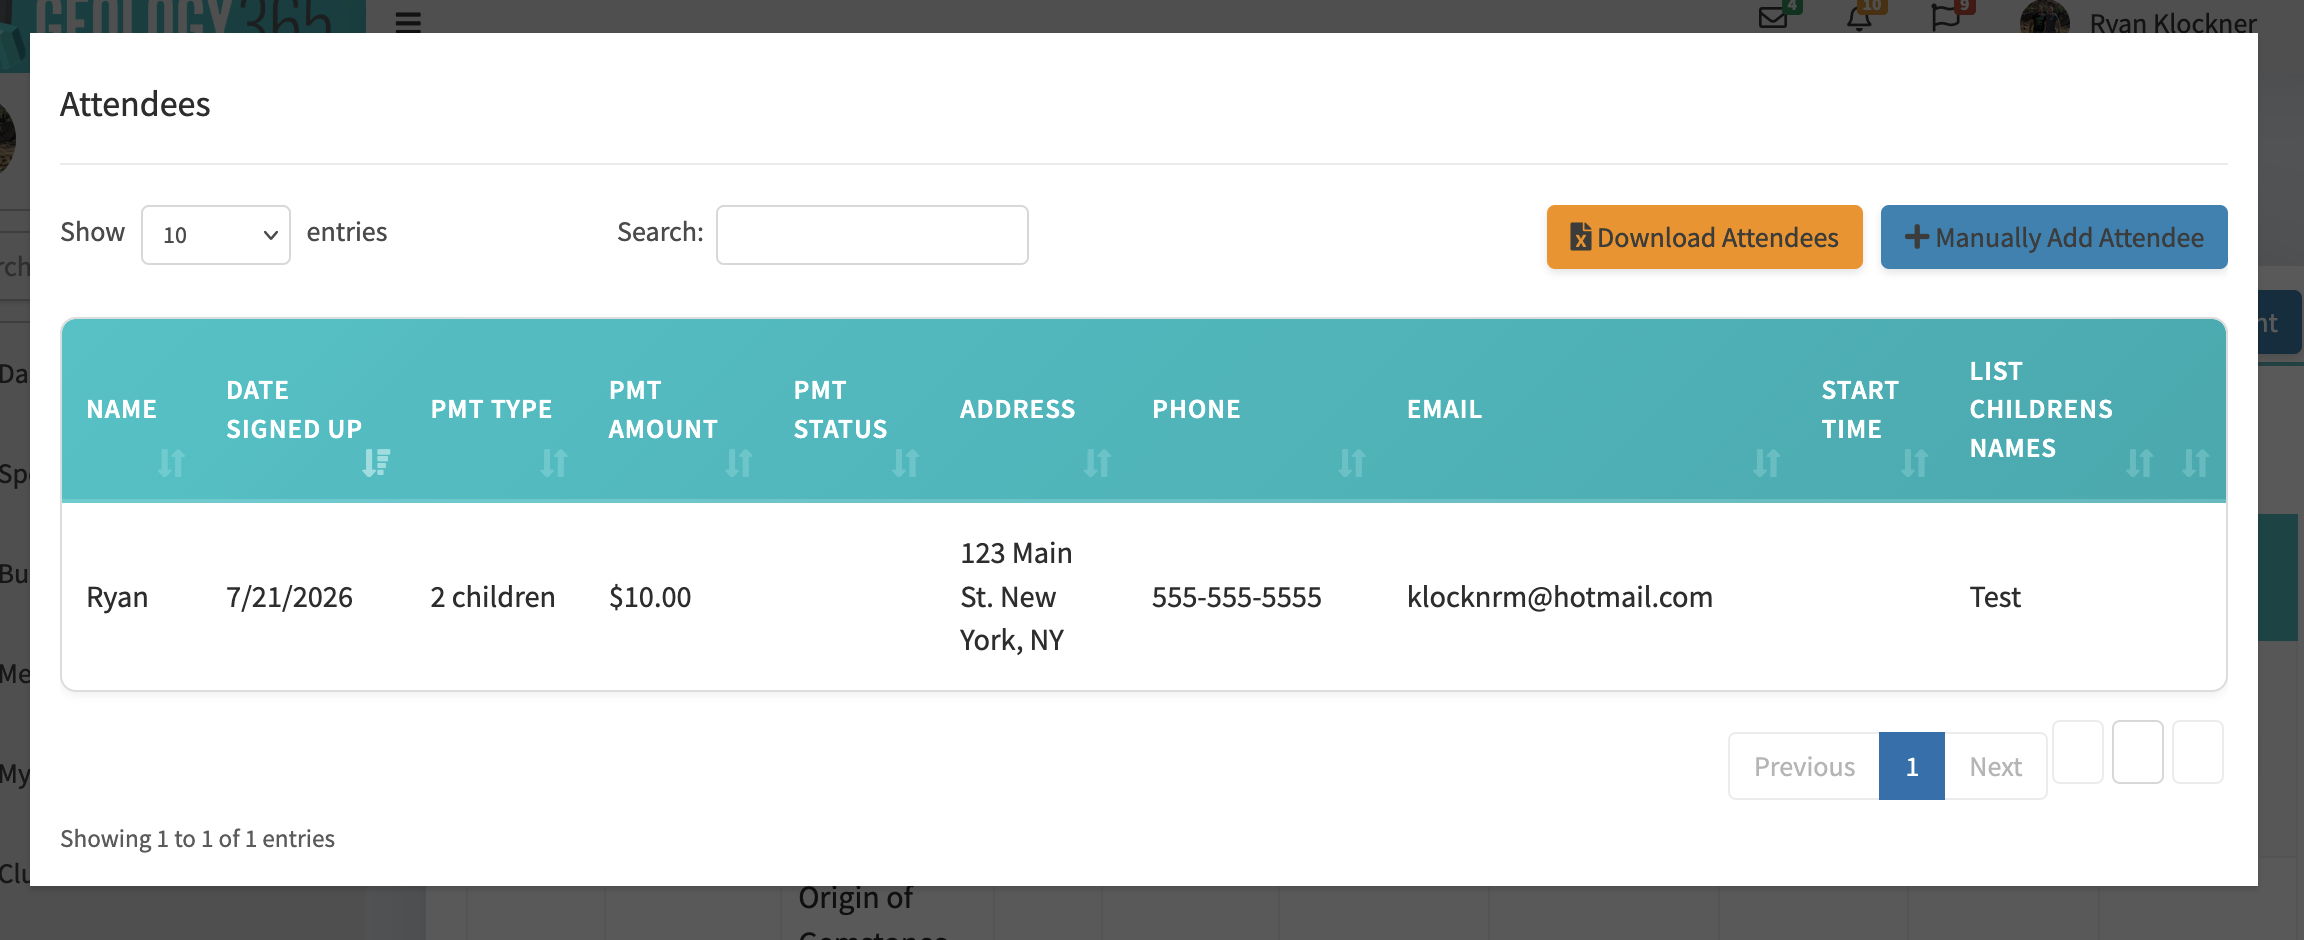
- On the Events list, events with a sign-up form show an address-book action with a red count of how many people have signed up.
- Use the address-book style action to open attendees / form submissions for that event.
- Admins can also enter someone manually via the form’s manual entry path for that event.
Troubleshooting
- Custom Page missing from event dropdown — No Copyright Infringement not checked, page is draft/unpublished, or wrong club.
- Form missing from section dropdown — Form belongs to a different club than the page.
- Public page/form not working — Club is not premium.
- Form disappeared on the live event — Event date has passed.
- Pay Later / payments not behaving as expected — Check Allow "Pay Later", payment options, and club PayPal settings; after first creating a form you may need to save again for Pay Later.
Related guides: Managing your club calendar, Creating custom pages / articles, Accepting payments with PayPal, and upgrading to premium.