Geology365.com now has the ability to create articles that you can post on your club's website!
If you are on the board for a club and you haven't already taken control of your club's profile, please take a minute and email clubs@geology365.com. In your email, please provide proof that you have authority to claim ownership of a club's profile.
How it looks
Once you have started writing articles, a number of changes occur:
- At the top of the page, a new menu item will appear for "Articles". This will get your site visitors quickly to a searchable list of your club's articles (see the "Article Archive" image below).
- A new section will appear on your dashboard which highlights the five most recent articles that your club has written (see the "Home Page" image below). As you create new content, they will automatically be moved to the archive.
- Each article will have its own page (see the "Acual Article" image below) with items embeded that will help with search engine optimization (SEO).
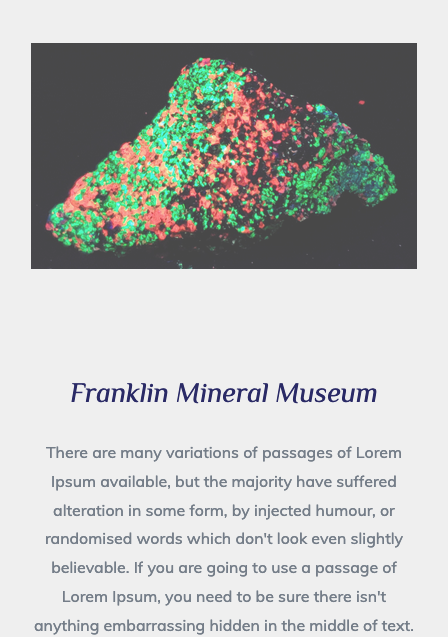
Home Page
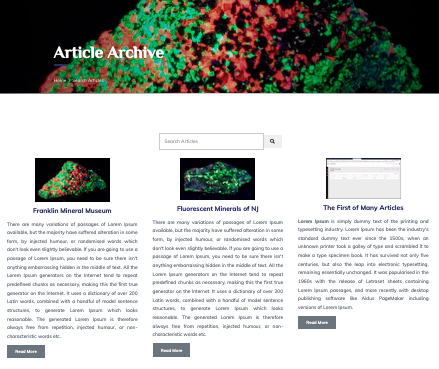
Article Archive
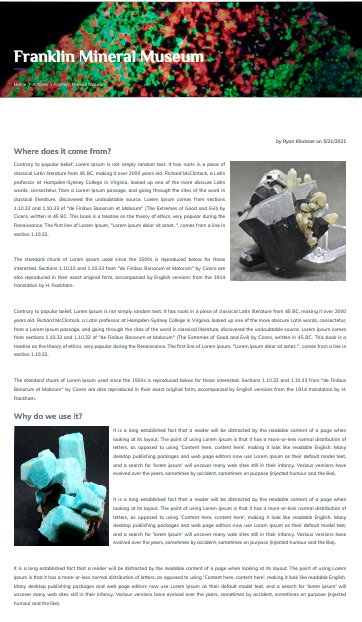
Actual Article
Creating & Managing Articles
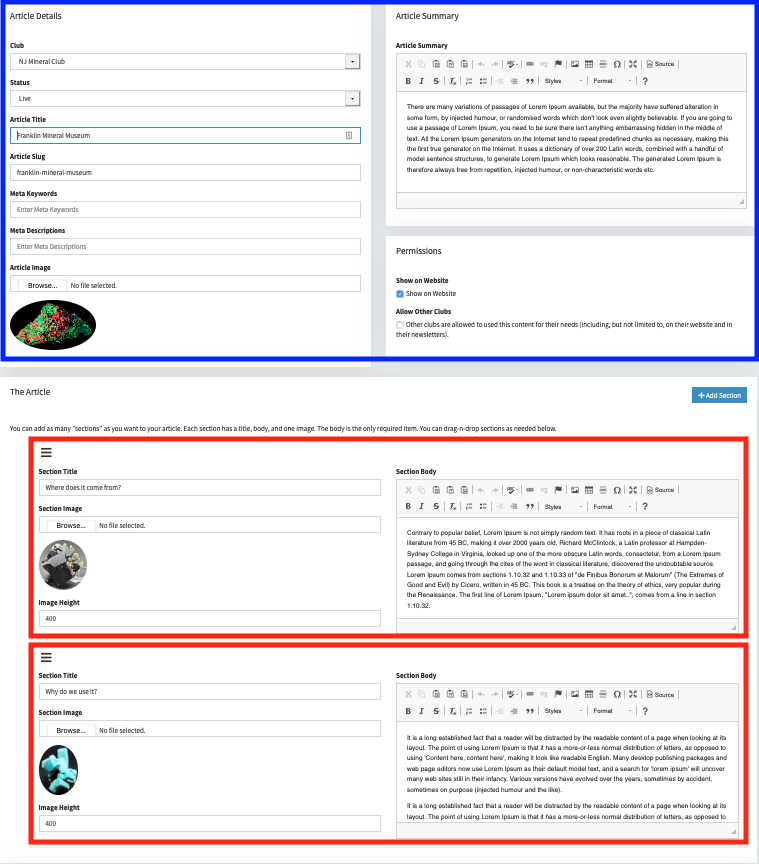
Creating an article is actually quite easy when you understand how they are structured. Consider the two images below.
- Blue Box: The blue box on the left is filled with information from the blue box on the right. Many of the field in the blue box on the right are used "behind the scenes" for SEO and permissions. However, this section also contains a "Summary" box. This summary will appear on your club's home page and in the Article Archive.
- Red Boxes: You can probably tell, but each red section on the left cooresponds to the red section in the same cooresponding position on the right.
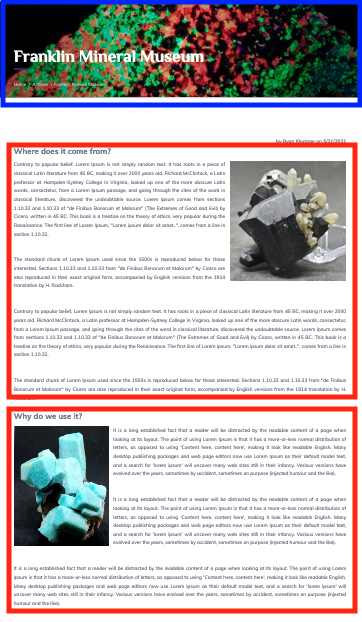
The Blue Section
- No Copyright Infringement: You cannot publish anything that is protected under copyright with express written permission. If this is not checked, your article will NOT appear anywhere on your site.
- Club: The article that you are working on will only be posted on the selected club's website. *You will see multiple clubs if you are listed as a board member on multiple clubs.
- Status: Pending - These will NOT appear anywhere on your site. The intent is that you are still working on these articles. Live - These articles will be listed on the homepage if it is one of the five most recent articles written. Archived - These articles will ONLY appear in the archived section of your club's website.
- Article Title: The title for your article.
- Article Slug: This is a search engine friendly URL that will help your article appear in searches. You can enter one that you desire, or the system will create one based on your article's title.
- Meta Keywords: This should be a comma separated list of keywords that pertain to your articles content. These are used for search engine optimization.
- Meta Description: This is a breif description of what your article is about. This should only be one or two sentences (shorter than your Article Summary). These are used for search engine optimization.
- Article Image: This image will appear with the article on your club's home page, in the article archive, as well as the top of your article. In addition, this image will appear in social media platforms when someone pastes the URL into a post.
- Article Summary: This should be a summary of the article limited to one paragraph. This summary appears with the article on the home page and in the article archive.
- Show on Website: This must be checked in order for the article to be visible on your club's website.
- Allow Other Clubs: This doesn't do anything quite yet, but in a future update, this option would allow clubs to also post your article on their website. *Full credit would be granted to the club/author that created the article, as well as a back link to your clubs page (helps with search engine optimization).
The Red Section
- Section Title: This would add a title to the section you are adding. This is NOT a required field. If you leave it blank, no space will be allocated for a header.
- Section Image: This would be the image for the section. As you can see from the images above, the images will alternate from the right side of the page to the left, then right, etc. with each section that is added.
- Image Height: You can adjust the size of the image for this section so that it is not too big or too small for the section it is in. *This field is NOT required.
- Section Body: This is the text for the section.
- : By clicking and dragging this icon in the top left of each section, you can reorder your article. This can be helpful if you need to add a new section, or if you feel it would read better in a different order!